
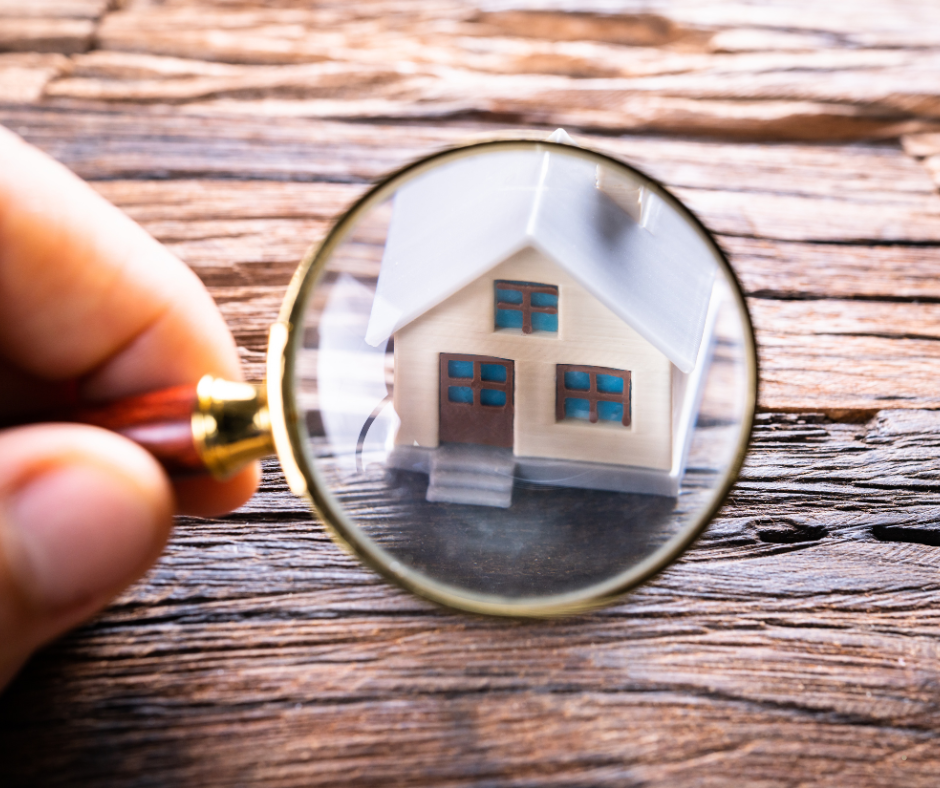
A home inspection is an essential step in any real estate transaction that provides peace of mind for buyers and sellers alike.
To ensure a successful inspection, it is crucial that all areas of the home are fully visible and easily accessible so the inspector can perform a thorough review. Lack of access can lead to additional costs if the inspector needs to make a return visit to check previously inaccessible areas.
Whether you are a buyer or seller, here is a brief guide to you prepare for your next home inspection, ensuring a smooth process and avoiding unnecessary reinspection fees.
Why Access Matters in a Home Inspection
The home inspection covers a wide range of areas on the property, from service equipment to structural components.
In order to provide a comprehensive assessment, your inspector must have access to all key areas, including the basement and/or crawl space, utility panels, and the attic.
Restricted access not only limits what your inspector can check but also impacts the accuracy of the report, which could delay the transaction and possibly increase costs for return visits.
Checklist to Prepare for a Home Inspection
At Ohio River Valley Home Inspections, we provide our clients with this simple checklist to ensure an efficient and thorough inspection. Since our clients are typically buyers and not sellers, we encourage them to forward this information to the seller and/or listing agent to request that these items be addressed prior to the inspection.
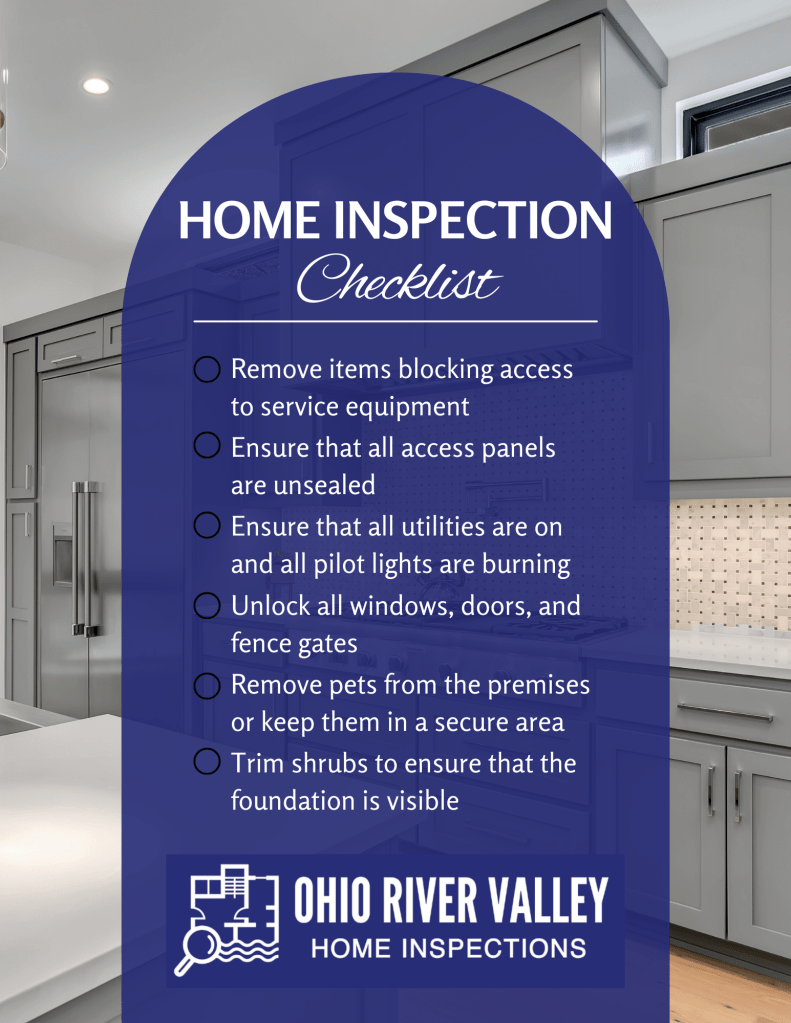
1, Remove Items Blocking Access to Service Equipment
First, make sure there is clear access to key service areas such as the HVAC system, water heater, electrical panel, and main shut-off valves. Move any personal belongings or storage items out of the way so that your inspector can assess them without delay.
2. Unseal All Access Panels
If there are access panels leading to crawl spaces, attics, or other hidden areas, make sure they are unsealed and easy to open. A good inspector will refuse to do anything that might damage nearby finish materials without the homeowner’s permission, so if an electrical panel cover can’t be removed without damaging the wall because the previous owner painted over it, then the inspector will be forced to report the panel as inaccessible.
3. Make Sure All Utilities Are On and Pilot Lights Are Burning
For your inspector to test the major operating systems (heating & cooling, plumbing, and electrical), it is essential that all utilities are connected and functioning. Check that pilot lights are lit so that gas-powered systems like water heaters and furnaces can be evaluated, and that all water supply shut off valves are open. Professional standards of practice do not require inspectors to operate pilot lights or shut-off valves, and most inspectors will not operate them due to potential liability issues.
4. Unlock All Windows, Doors, and Fence Gates
Your inspector will need to open and close windows, test doors, and access outdoor areas to ensure proper operation and security. Unlocking these areas beforehand saves time and allows the inspection to go smoothly without interruptions.
5. Secure or Remove Pets from the Premises
Animals can sometimes interfere with the inspection process, and their presence may even pose a safety risk to the inspector or the pets themselves. This is why it is best to either remove pets from the property or keep them in a secure area during the inspection.
6. Trim Shrubs Around the Foundation
Finally, your inspector will need to examine the exterior foundation for signs of cracking, damage, or other related issues such as soil grade. Trim back any plants or shrubs near the house to provide a clear view.
Avoiding Return Visit Fees
Home inspectors generally perform a single comprehensive visit to complete their assessment. However, if areas are inaccessible or key utilities are not turned on, a return visit may be required to complete the inspection. Return visits carry an added fee, so preparing in advance is not only convenient but cost-effective.
As a buyer, you’ve already invested good money to receive a comprehensive inspection report. The last thing you want is to have to pay a reinspection fee because important areas of the home weren’t readily accessible on the day of inspection.
While we like to remind our clients that it is ultimately the seller who is responsible for making sure the home is fully accessible, not all sellers will gladly take responsibility for the reinspection fee.
So, if you’re uncertain about what to request in advance, the checklist above can serve as a practical guide. Taking a few extra steps to ensure accessibility can save you time and money, allowing the transaction to move forward smoothly.
Preparing for a Successful Inspection
Preparing for a home inspection might seem like a small task in the larger home buying or selling process, but it can make a significant difference. Ensuring that the home is ready for inspection not only improves the accuracy of the inspection report but also demonstrates transparency and responsibility. Whether you’re a buyer looking for a comprehensive review of your investment or a seller aiming for a hassle-free sale, a well-prepared home benefits everyone involved.
By following these steps, you’ll be setting up your inspection—and the rest of the buying or selling process—for success. If you have questions about how to prepare for an inspection or need further guidance, Ohio River Valley Home Inspections is always here to help!
Looking for more information? Ohio River Valley Home Inspections is here to remove the guesswork with professional expertise that helps you sleep better at night. Check out our Frequently Asked Questions to learn how we can help you take the next step in your home buying journey.


Leave a comment